
Steven and Troy got some shingles up on the roof of the garage during our unseasonably warm temperatures last Thursday and Friday! It’s starting to look more complete!
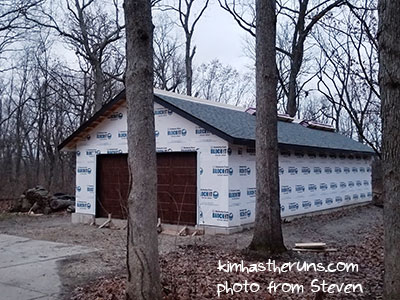
I worked all day Thursday, hence Troy coming over to help – thank you, Troy!
We are using architectural asphalt shingles from, you guessed it, Menards. We bought regular shingles (see image below) and starter pack shingles. The starter pack shingles are installed along the edges of the roof, and have a line of tar on the side that goes along the edge so that when it heats up, it will adhere to the regular shingle on top of it so the regular shingle won’t blow off – smart! And it actually was warm enough Thursday (in the 50s!) for the tar to heat up and the shingles to adhere. Yay!
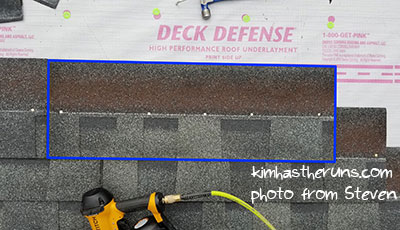
Blue box shows what a regular shingles look like
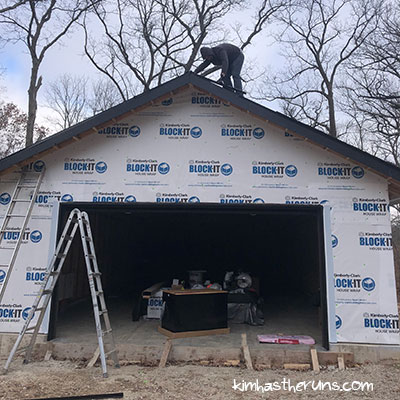
It takes f-o-r-e-v-e-r to install the starter shingles straight when you don’t know what you’re doing because it’s your first time (Steven said it will go faster on the north side). Troy was on the ladder and Steven was on the roof, and the starter shingles took them most of the day. At least it was gorgeous out!
Once the starter shingles were installed, installing each row of regular shingles was quicker, because they just laid them down (overlapping the gray part over the brown part seen in the photo above) and bang bang banged with the nail gun (but not on the exposed part of the shingle!!!!!). The shingles have to be cut so the vertical seams don’t overlap, so Steven started the rows with increments of 7-8″ cut off. Steven and Troy got eight rows installed on Thursday.
Ideally shingling would be a three-person job – one person installing/nailing, one person handing them the shingle, and one person cutting shingles. Since someone doesn’t want to get on the roof (*cough*, me) poor Steven did that all on his own Friday, and I was ground support/Menards errand runner.
On Friday Steven finished installing all the drip edges,
That looks safe!
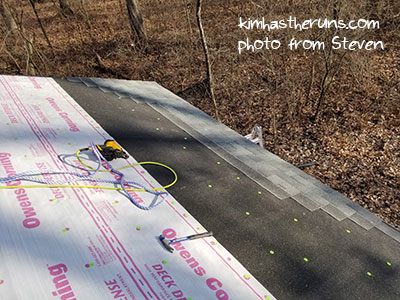
installed about 80% of the shingles (sixteen more rows! much more than Thursday! learning!) on the south side of the roof, and moved all of the remaining shingles packs off of the roof peak and on to roof brackets,
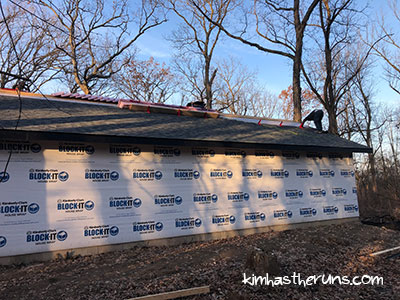
the red things are the roof brackets keeping the shingles from falling off the roof
so that he could install the rest of the underlayment and not have to put the tarp back on the roof before all the predicted weekend rain.
All was going well until it got dark and the temperature dropped and Steven had to uninstall the safety rope to put the final rows of underlayment over the roof peak. As soon as it was dark, condensation started to form on the underlayment already installed that was previously dry, and Steven was slipping with each step, without a rope, while holding a huge roll of underlayment. I was on the ladder watching him the whole time, and could hear his shoes squeaking and was freaked the eff out that he was going to fall off the roof. WHO WOULD FINISH THE GARAGE THEN?! Gah.
But he got the underlayment installed, put the rope back up on top of it, and safely got off. He was completely beat from working so hard on the roof two days in a row, but glad to have it completely weather proof now, so we don’t have to deal with that huge arse tarp anymore. Yay!
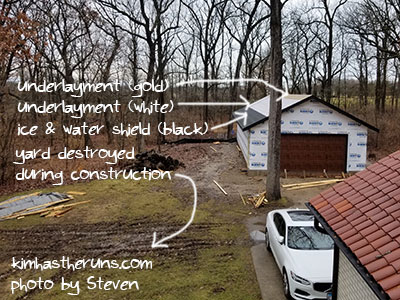
The white and gold underlayment do the same thing, it’s just that we ran out of the white and it’s special order. I was able to get the gold kind in store.
I appreciate all his hard work on it, and that he understands I prefer to be ground support. Maybe I will be brave enough to get up on the north side now that my ribs and core feel a lot better! We need some warm dry weather for that, though!
Previous Post: Garage Project: Ice & Water Shield and Underlayment