
I’m behind on garage progress posts! Eek!
I was going to start this post by whining about how the weather has been too cold for us to install things properly – everything we need to do on the roof requires a minimum temperature above 40° and we did NOT have that when we were attempting the install. But we do now! We are having what feels like a heat wave in Illinois – it’s going to get in to the high 40s and low 50s for about 7 days in a row (starting last Saturday)! Woot!
The only issue there is we have house guests and have been hosting – not working on the garage. Bad timing. Maybe we’ll get another string of warm days… cross your fingers for us!
So, two weekends ago, on Saturday the 14th, Steven and Troy started installing the drip edge, ice and water shield, and underlayment on the roof. These are the final things to install before we can put shingles on. Here’s what each thing does:
- Drip edge: directs water away from fascia in to gutter
- Ice and water shield: waterproof layer that protects the bottom 6′ feet of the roof from water damage from severe weather (it’s only installed at the bottom because it’s the most susceptible part of the roof to that type of damage)
- Underlayment: another waterproof layer to protect from severe weather
I was not on the roof with Steven and Troy – I was worried it would mess up my ribs more. So I was the go-to person on the ground/ladders.
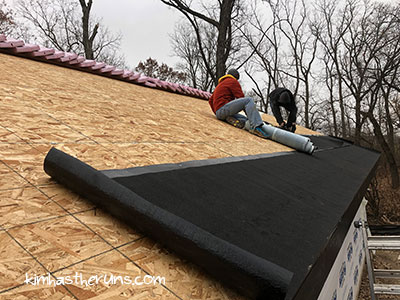
Steven and Troy started with installing the drip edge on the south side of the roof. At first they tried installing it while on the roof, then realized it worked better doing it from the ground on ladders.


Drip edge close up
Then they rolled out the ice and water shield and the entire roll slipped to the ground. Oops. The roll is heavy, and their footing was off on the roof since they removed the 2x4s that were giving them something to stand on before. So they cut the roll in to strips on the ground, then placed it on the roof. The ice and water shield has a tacky back that is supposed to be self-adhering, but it doesn’t work when it’s 30 degrees. They ended up stapling it in.
Each side of the roof gets two rows of ice and water shield, then two rows of the underlayment. Steven and Troy got the two rows of ice and water shield up on the south side that day, and that was it. Too much time was spend figuring out how to cut and apply it to get much more done (and a lot of time was wasted picking some crappy plastic coating off of it). This is very typical of this project for us (spending a lot of time figuring something out on the first go), since we are learning as we go.
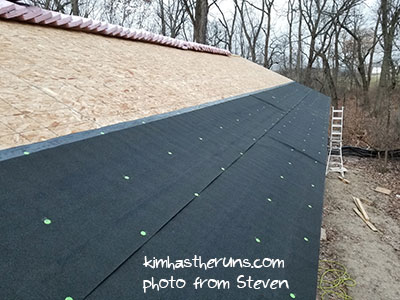
Ice and water shield up on south side
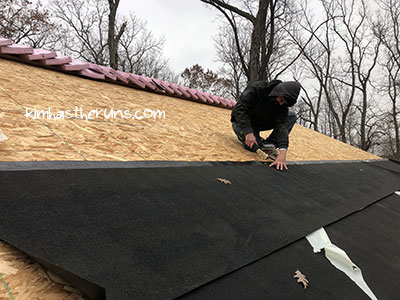
Troy came back Friday (yay!) and they got the underlayment up on the south side, and the drip edge, ice and water shield, and underlayment up on the north side. Woo hoo! It was warmer but they still had to use staples.

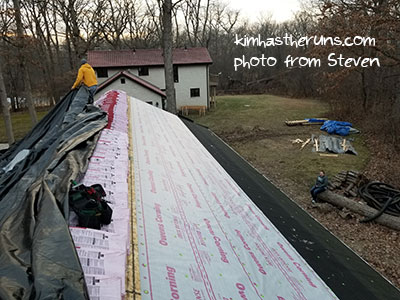
Ice and water shield and underlayment on north side
There is sand on the ice and water shield that makes it slippery, and the underlayment is slick and plasticky, so Steven bought some harnesses for them to attach to the top of the roof and wear so they didn’t fall off. But the harnesses were uncomfortable and the rope was in the way, so they didn’t wear them, and just used the rope that came with the set to help them get on and off the ladder, and were super careful. (Steven has slipped twice up on the roof!!!!! Eek!)
Thank you Troy, for going on the roof, so I don’t have to!!!
We have to put up more drip edge then we can start shingling – and hopefully the temps will go above 40 again this winter to melt the tar on the shingles.
Previous Post: Garage Project: Final Fascias & Garage Door