
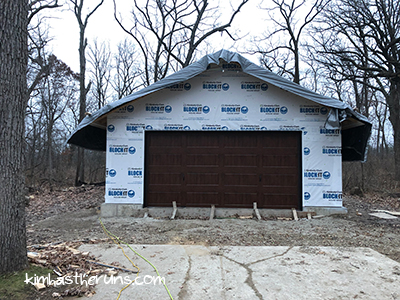
We had decent weather (for December) and were able to work on the garage last week and this weekend. The work we did is a big visual change – we got the garage door up! It’s been a while since we’ve made such “noticeable” progress – we’ve been mostly working on small, detailed things.
During the week, Steven installed the west end fascia (under tarp in images below) and garage door trim (black boards in images below).
On Saturday, we installed the east end fascia. This side of the garage is tricky to work on because of the dramatic slope in the landscape and how muddy it gets when it’s warm, making setting up ladders a nightmare. And the east end had so many issues with the soffit ladder – we’ve had to shim the hell out of it to make it look plum and square and blah blah blah.
So we thought installing the fascia would be a nightmare but it wasn’t that horrible. The worst part was that I was so gimpy after my fall and couldn’t lift much, bend over, or get up and down the ladder easily. Sigh. But we got the fascia installed.
East end before

East end after
We had one long board to use for each side, but one was so warped we had to cut the warped end off and use two pieces instead. It looks fine, and no one except us will ever see this side of the garage anyway.
Our work Sunday was all inside the garage! We started putting the garage door together, which wasn’t difficult, but the instructions provided were SO HORRIBLE. We received one set of instructions intended for several door types, but it wasn’t clear which steps applied to which door types, so we had to read the whole thing over several times to make sure we were following the right steps. And even then, the pictures weren’t always clear, so there was a lot of guessing and mocking up and saying “eff it, let’s try this.” The instructions also forgot some steps, like securing bolts, or removing nails that were holding the door in place. UGH.
We started the day by installing a trim piece for the track to attach to (this is the piece they had to come back and cut out the concrete for). We also temporarily installed the stop moulding.

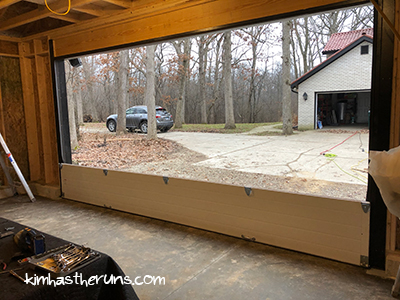
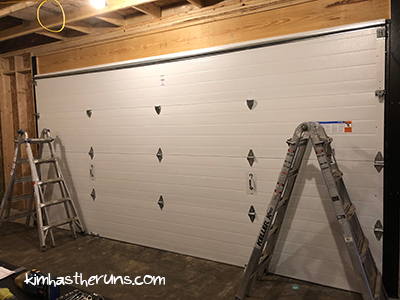
After that, we built the door up, panel by panel. It should be simple – put the hinges on the door, place it, secure it with a nail, add hinges to the next door, place it, attach it to the previous one – but the first two panels were a pain because we had to install handles on them, and the templates we got weren’t super clear (SURPRISE!!!!). And we were like UM WE DON’T WANT TO DRILL HOLES IN OUR NEW DOOR! But we figured it out after some time.

Drilling a hole in our new door!
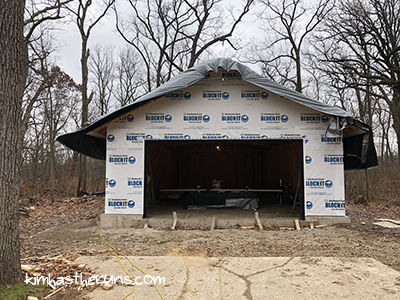
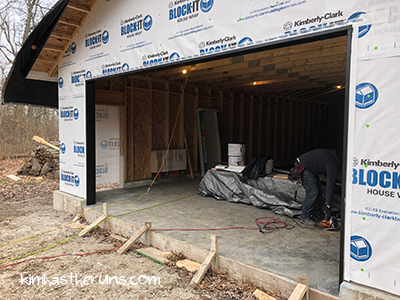
Last picture of the garage without a door!
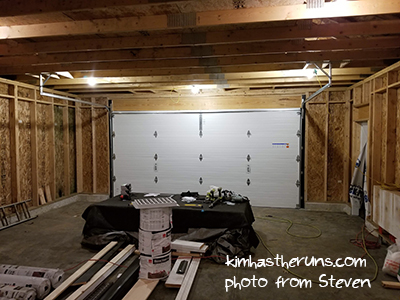
We slowly trapped ourselves in the garage:
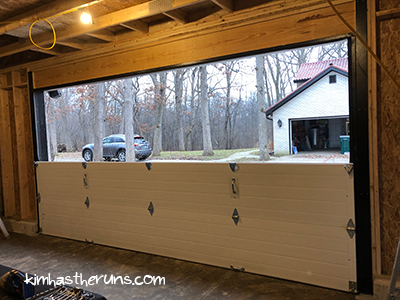
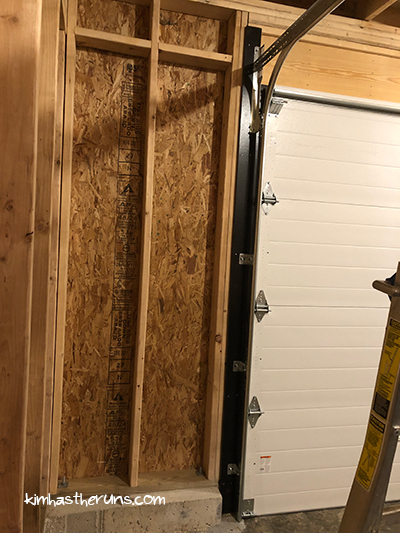
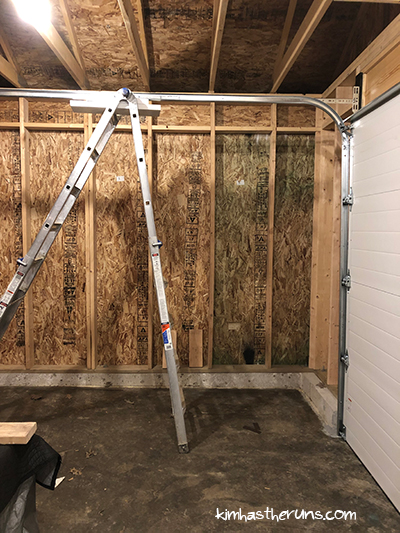
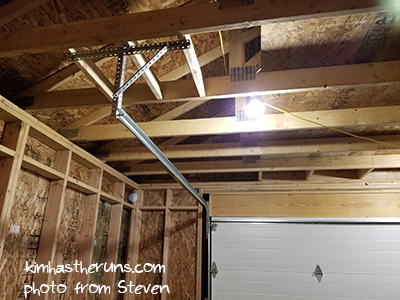
I was ready to call it a day then (ha), but the only thing holding the doors panels in were nails, which isn’t exactly safe, so we started building the vertical track, then horizontal track, to secure it in place.
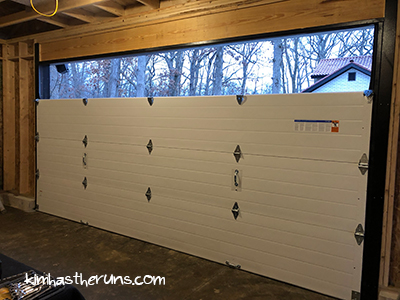
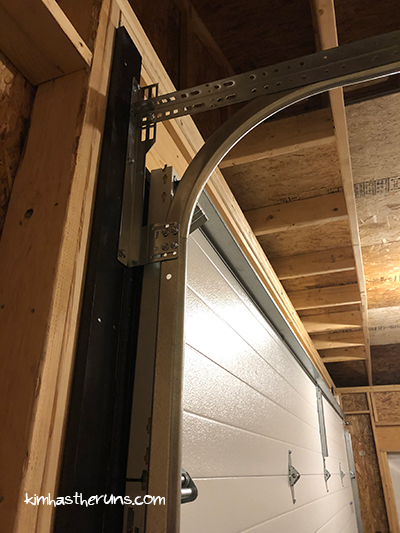
And guess what? The directions were confusing, and the left and right pieces were stamped incorrectly. UGH. But we prevailed and got both tracks up, leaving the horizontal track on a ladder to be secured on Monday.
Ha, Steven told me he had to flip this L-shaped piece on Monday – we still had it wrong after staring at the diagram forever. So just so you know – these images are incorrect, but it’s fixed now!
I was in so much pain from moving these doors around and lifting them up. I set myself back in my recovery working on this. But look at our pretty door!
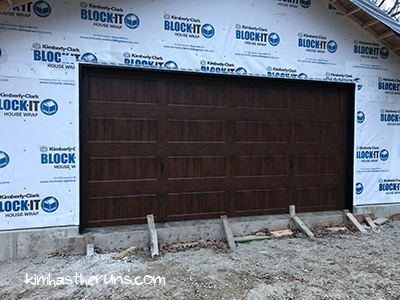
On Monday, Steven finished installing the track with a mounting kit he purchased separately. And guess what? Those instructions were just as ridiculous, and implied a structure would be there to attach the kit to that wasn’t. So he built that, and got it installed. Steven said he felt like he used every tool he owns working on this door and I don’t think that’s much of an exaggeration! At least we like the way the door looks though.
We still need to do the actual scary part – installing the springs – for this thing to work (Steven ensures me it won’t be scary and we likely won’t die from messing up the spring). But we are pretty close to having it done. Yay!
Previous Post: Garage Project: Delay

That door looks great although it would have freaked me out more than a little bit to be trapped in the garage…
We finally cut in a slit in the house wrapped man door opening to get out! 🙂
There’s a door! Hooray! And I am once again blown away by you guys just getting it done, even with crappy directions! Nice job!!
Thanks! We might install the man door this week, so then there will be TWO doors! 🙂