My snister recently painted this mural in her kids’ playroom and I was hella impressed and asked her to write a guest post about how she did it, because she actually researches how to do things, unlike me, who tries to figure it out on their own then wonders why it looks like crapola. Enjoy this guest post!
You can follow my snis on Instagram @ourcozyiowahome!
Note for people looking for free advertisement – I do not accept guest posts from advertisers or random websites looking for me to promote them unless it’s a topic I am actually interested in.
Hi everyone, I’m Christina, Kim’s 31-year-old snister. I live in Iowa with my husband and two young sons who you see here sometimes! 😊 I work full time as a commercial interior designer, and spend my free time updating the house we purchased in Iowa in January 2020. Kim asked me to do a guest post highlighting a recent DIY I did, so here we go!
I love Pinterest, and am often pinning beautiful play spaces, with large scale murals of rainbows, forests, etc. and wishing my boys had something like that in their toy room! They were all so awesome, but didn’t really fit the space we had – without doing some more work in it that I didn’t really have the time or energy to do. A few weeks ago I was sitting in the playroom, probably sipping a cold coffee whilst avoiding little fingers and toys being stuck in it, looking at this bump out (what’s behind it, nobody knows – but probably some HVAC) and decided it would be a good spot to add some color.
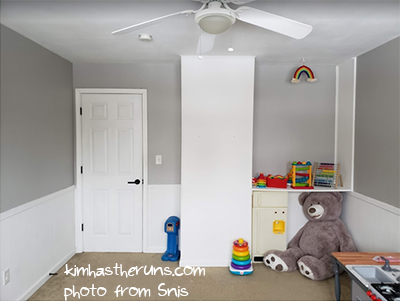
I played around with a few ideas, and looked on Pinterest. I was thinking of a rainbow since we have so many ROYGBIV toys (and we love rainbows!), but that wasn’t working as well with the skinny space – and would be more expensive since I would need more paint colors.
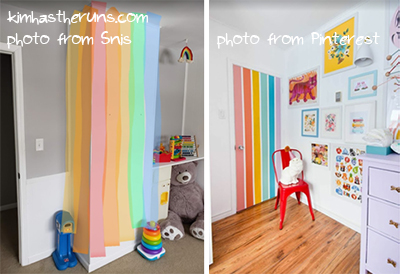
Then I saw this picture, and fell in love with the idea of a sun mural.
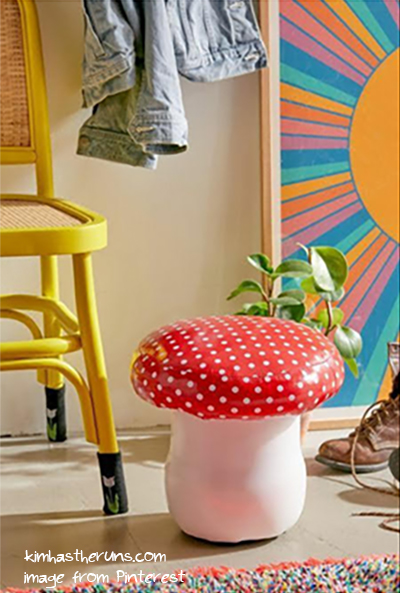
Ironically, the day before I was at Kohls, and picked up this little planter for myself (and one for Kim too!) because I loved the design and colors. Without even realizing the connection, I drew another mock-up.
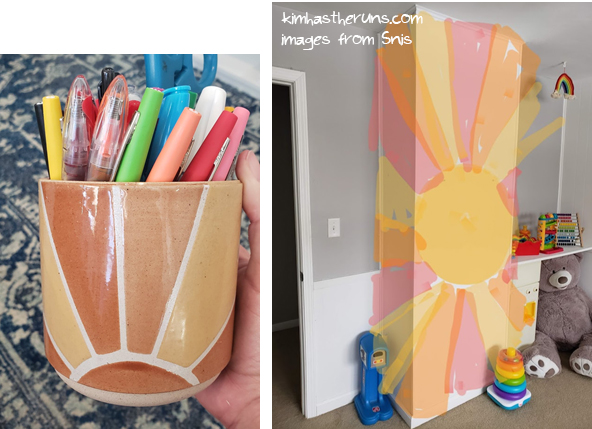
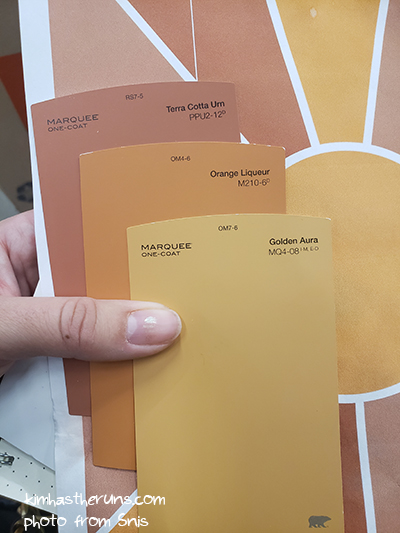
I showed my oldest son William and he loved the mock-up picture I drew, and started constantly asking me when I was going to paint it (#momlife). So the next day I measured the wall, and drew it in my AutoCAD design software so I could map it all out. I laid out two circles, then divided the outer one into equal portions to draw the rays. I PDF’d that and put it in Photoshop where I played around with colors. Then I went to Home Depot with a print of the mural to pick the actual colors (which is so hard) and get sample pots of each. I got 2 pots of each color, but 1 would have been more than enough for my space.
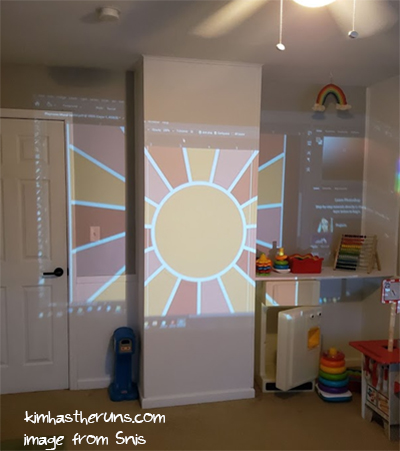
I had already drawn the circles on the wall with a nail, string, and pencil, so we set up our projector, which was hooked up to my computer, to line up the tape. Tweaking the projector positioning was the most difficult part, but other than that it was super easy!
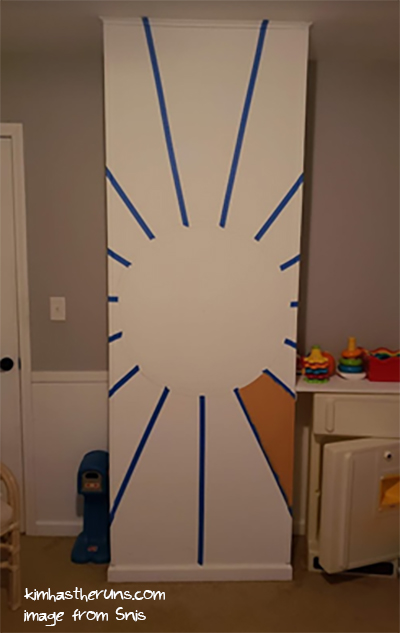
I wasn’t super concerned about my tape being perfectly straight, so I followed the lines where I could, and then just kept going.
I then painted each color using a small brush, starting with the yellow, then orange, then red. I made sure to cover the tape in paint as well to seal it, and get the straightest line possible. There were definitely some areas that could have been improved!
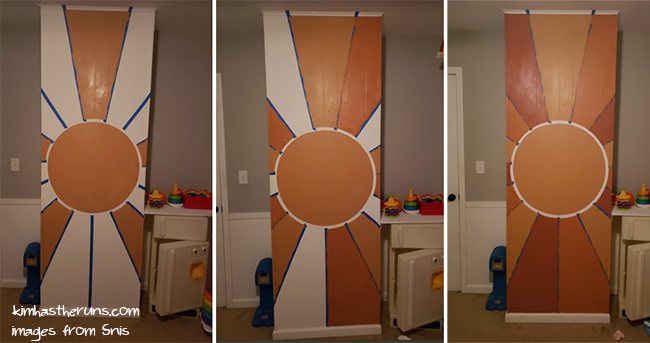
Pulling off the tape (while still wet!!) was the most satisfying part.
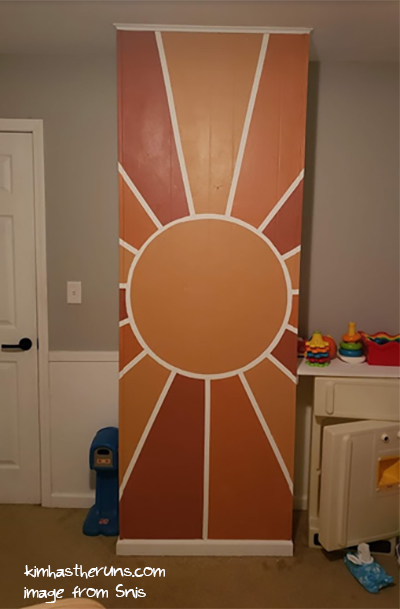
After about an hour, I brought the boys in to see it, and they loved it!! I was very happy with this quick, easy, and inexpensive (about $15) update to their play space. It really brightens up the room and makes it more playful and fun!
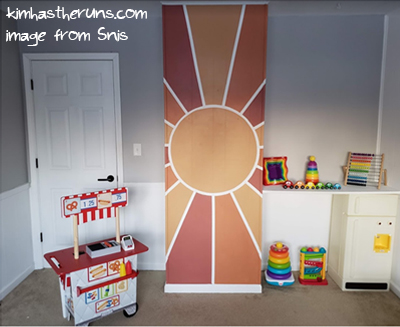
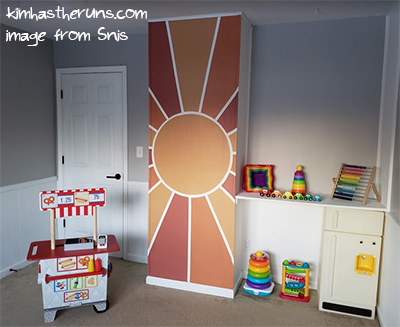
I encourage everyone to have fun with their spaces – especially their children’s spaces – in their home. Now every time I see this mural, I smile, and Spiderman loves it too!
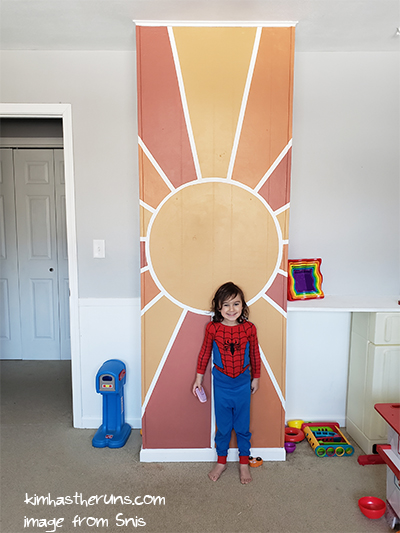


This is so clever – I love fun pops of color like this! I’m impressed with the precision of how you did the pattern, too. Nice job, snis!
Thank you so much! 🙂 It went off much easier than I was expecting, so that was a nice surprise!
I just love this!! And fun to hear from Christina too! The design is amazing and looks awesome!!
Thank you Denise!!
Wow! How cute and such a clever idea!
Thank you Amy!!
This is AMAZING. Like, my eyes widened when I saw the final result! What a bright little spot for the kids’ toy room! I love it so much!
Thank you so much Stehpany!! So glad you like it! 🙂
Wow. File this under ‘things I could never do’. I do not have one whiff of creativity. Nada. I could never conceive of this – let alone make it happen! I’m so glad the kiddos like it.
Haha thank you Anne! It was actually much easier than I was expecting! Thankfully!