Whoa!I t’s been a long time since I did a proper garage project update and guess what?! There is LEGIT power in the garage now! Like, open the door, flip a switch, and the lights turn on, p-o-w-e-r! It’s pretty nifty!
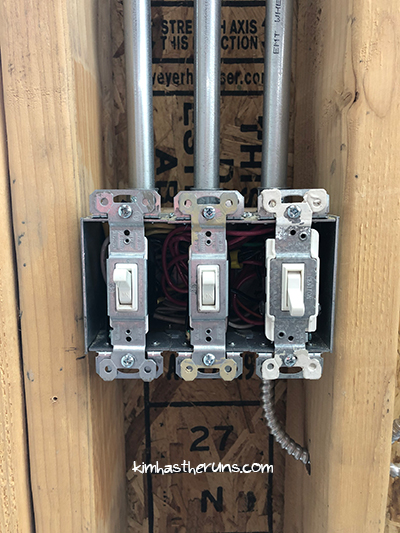
These work now!
Before we had power, we’d run an extension cord from the house garage to power the lights. Not a big deal, but kind of annoying.
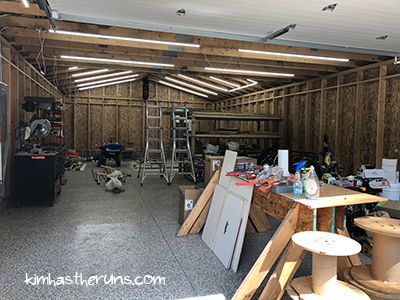
Organizing has not been a priority, yet, but light!
So what did it take to get the garage powered? Short answer: a bunch of digging and running wires (oh, and having an electrical box to attach said wires to). Long answer: that, plus a lot of prep work. Steven did the bulk of that prep work over the late winter, spring, and early summer. He:
- Ran conduit through the soffits (outside) so we could close them up
- Mounted boxes inside, ran conduit between them, installed an electrical panel, ran conduit in to the electrical panel, and pulled wire through the conduits
- Installed outlets and lights, and ran an extension cord to plug in to the panel (so we could use the switch to turn the lights on, once plugged in)
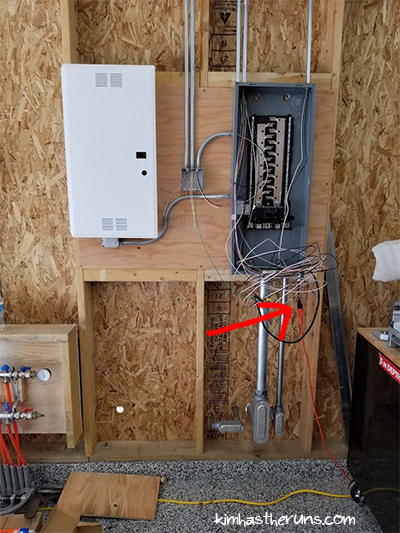
FUN FACT: conduit is not required where we live, because we are unincorporated. But, it’s required everywhere else around us (because Chicago, aka unions), and we’re used to it. And it feels safer to me. So we installed conduit.
(I barely helped with the rest of this work (okay or much of the prep, let’s be real) – a lot of it happened during the month of July when I was working so hard on my resume and interview prep, then cleaning the house since I had ignored my chores for a few weeks, oops.)
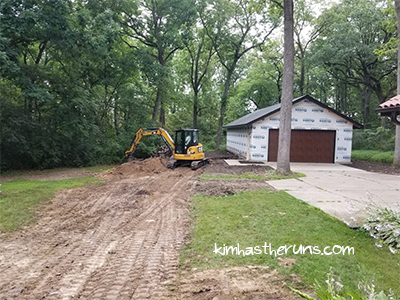
In early July (7/10) we had our excavating contractor regrade the soil around Dragonstone, and dig a trench from the house to Dragonstone. He made the trench 3′ wide and 24″ deep. Most say the trench only needs to be 18″ deep, but we went 6″ deeper, which was a good call – code requires 18″ from the top of the highest point of the conduit to the ground. If the entire trench was 18″, it would have been too shallow in some areas.
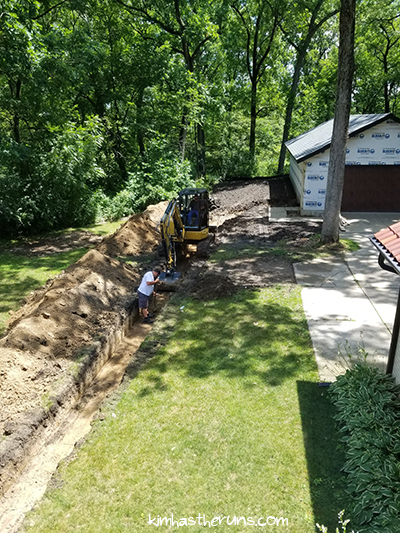
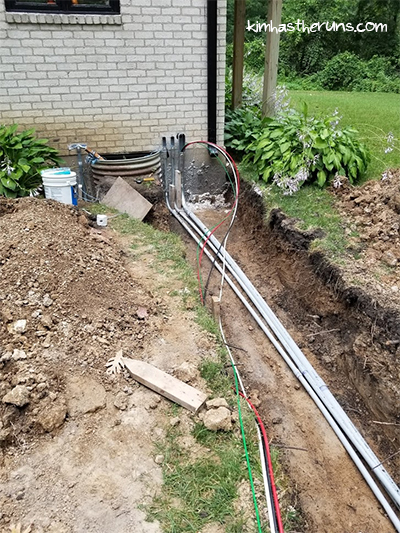
The next day, the electrician came, and he and Steven installed conduit for power, extra power, low voltage, and installed the gas line. The electrician said “it’s the nicest trench he’s ever worked in.” Ha! It was nicely done and squared off!
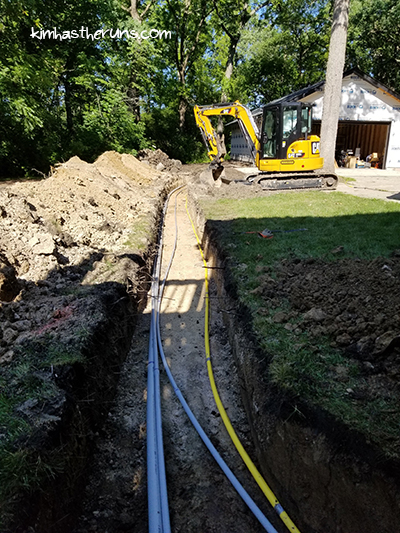
2″ power conduit, 1″ future power conduit, 1″ low voltage conduit, and 1″ gas line. The power conduit and gas line have to be 1′ apart, per code.
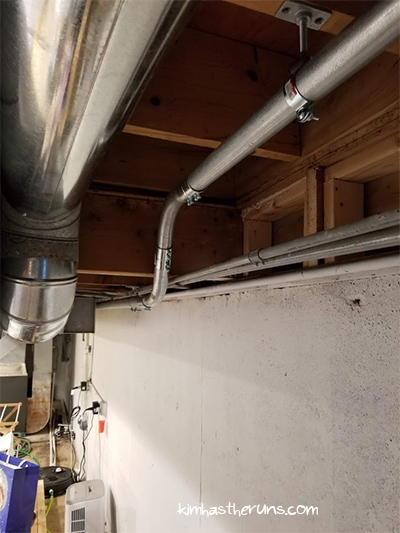
Then Steven installed conduit in the basement, connecting it to our existing electrical panel,
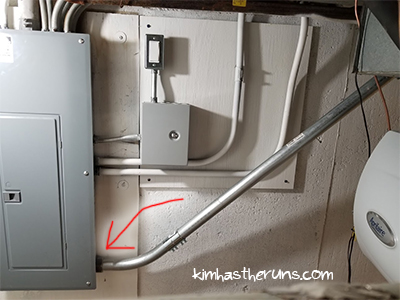
and running it to the outside corner of the house where it leaves to go to Dragonstone.
To get the conduit through the wall of our house, Steven had to drill four holes – one for the bigger electrical conduit, one for the smaller future one, one for the low voltage conduit, and one for the gas line. He almost broke his arm with each one (“but I saved $600 so BOOM”), sigh. He spent a lot of time researching and buying the right coring bits to use, but our drill does not have a safety clutch, so when it got stuck, the drill tried to keep on spinning, twisting his hand and arm! Scary! (He said he’d do it again, it saves so much money, you just have to be r-e-a-l-l-y careful.)
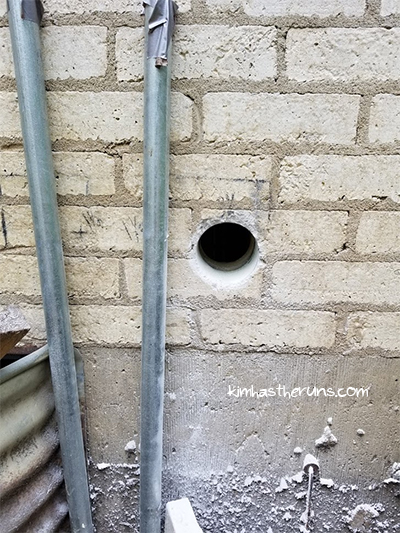
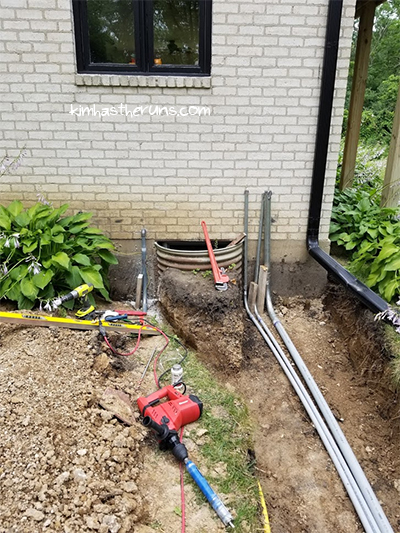
You can see the drill with the coring bit in front. Jen & Troy got Steven that giant wrench in the back as an inside joke, but he ended up using it quite a bit on this part of the project, ha!
The electrician came back the following weekend (7/19) and he and Steven pulled wire through the conduit to the panels. They would have attached the wires that day but the parts Steven ordered to do so hadn’t arrived yet. (Gah, it was so freaking crazy muggy that day, and raining, and they were out there working on this. I was inside cleaning all weekend…)
During the following week, the gas pressure gauge kept slowly losing air. Steven tweaked it a bunch and got it to a point where it was losing it at a low enough rate not to be a worry.
We had our underground inspection on July 21 and passed. Our excavating contractor covered the trench back up the next day. He said it will take several weeks for the soil to settle, then he’ll come back and regrade. Our yard looks so lovely!
Then we were on our trip! Yay! (and the parts came while we were gone)
On August 1st, Steven and Dad put all the breakers in in Dragonstone, connected the wires to the two panels, and installed an outlet on the panel board, and voila! The power was connected and we no longer have to pull an extension cord over! Woot woot!
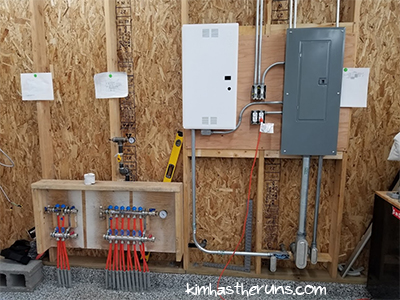
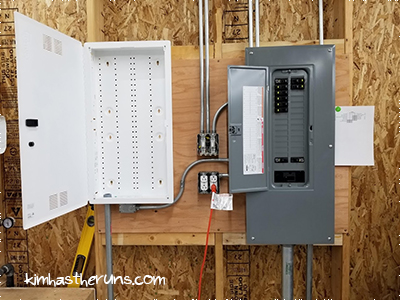
(Some day down the road we need to set up the gas line to run the radiant heating, but in our county, you can’t run radiant heating unless your space is insulated, and ours won’t be for a while, so we are waiting on that!)
Previous Post: Garage Project: Final Concrete Pour


What are “extra power” and “future power”?
It’s conduit we installed that’s empty right now and can pull power through in the future if we want more over in Dragonstone.
Boy, it’s a good thing Steven didn’t break his arm using that drill – I would guess a broken arm would end up costing more than $600 (depending on your insurance, that is)! I definitely had something a bit less intense in mind until I saw the picture of it. That thing is no joke!
Ha, yeah, glad I don’t have to share the cost comparison on that LOL!!!!!
I was so worried about him. He was super careful after it happened once but it wanted to do it each time!
POWER! How awesome!
I’m constantly in awe how much work Steven is putting into this garage!!
I am too! I am impressed he knows how to do all this and has the drive to get it done!