
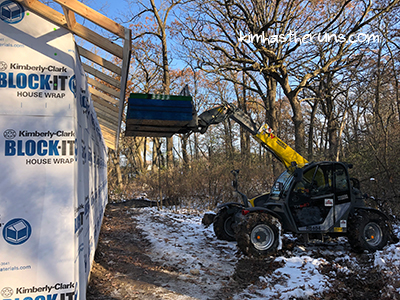
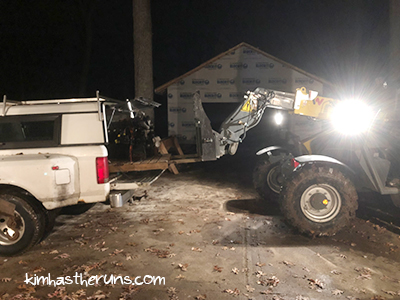
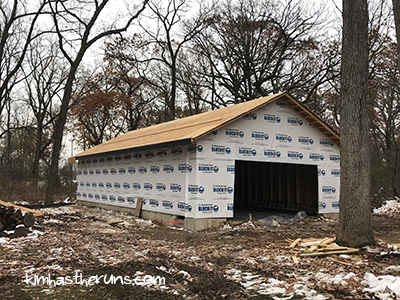
On Friday afternoon we started a major step in the garage construction – roofing! Steven rented a telehandler to raise the OSB up to the roof. Remember how those sheets weigh 80 pounds each? There was no way we were dragging each one up a ladder!

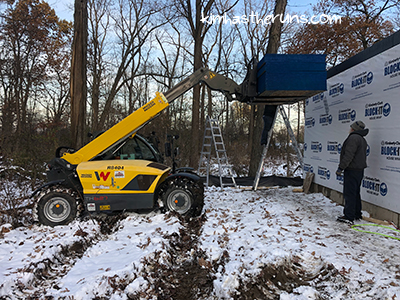
Ha, see those tracks? Our yard is really dug up from this thing! But it was already a mess from the other deliveries we’ve had, so we don’t care. We can fix it in the spring if we feel like it.
We got the sheets close to the north side, pulled one up, and realized right away we were going to have an issue with our spacing. The sheets require a gap between them for expansion and contraction. The sheets go vertically on walls and the 4′ side is cut short to allow for the gap there, but the sheets go horizontally on the roof, and the 8′ side is exactly 8′ – it doesn’t allow for the gap. So if we spaced them out using the gap, we’d eventually run out of truss to put them on/nail in to.
Sigh.
But we still need to have the gap, so we started at the center and spaced them out from there, hoping we’d have enough room on the trusses at the end to nail them in. We got four sheets up and nailed in and called it a day!
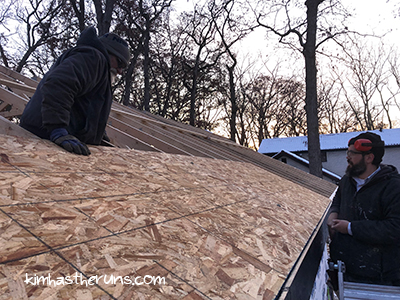
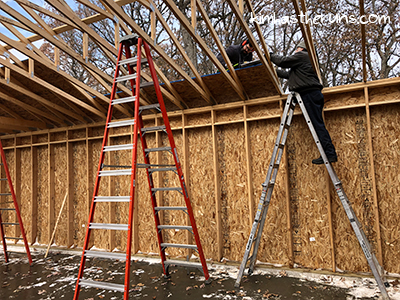
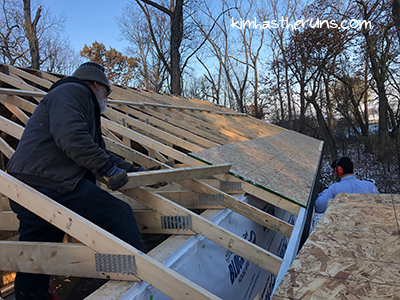
On Saturday a lot of people came over to help – Eric, Jen, and Troy! Yay! We spent the morning getting more sheets up on the north side. We could work from the ground for the first row of sheets, using ladders inside and outside of the garage. Once we got to the second row, we got up on the roof and pulled them up and around.
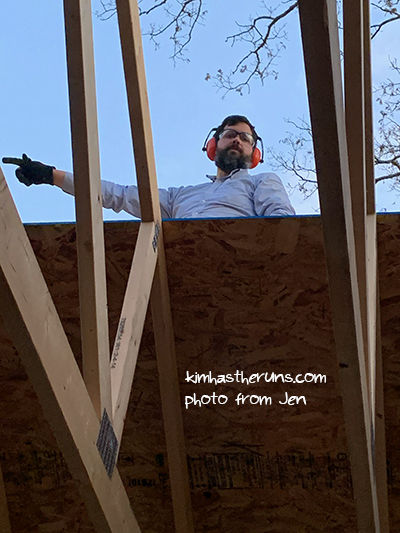
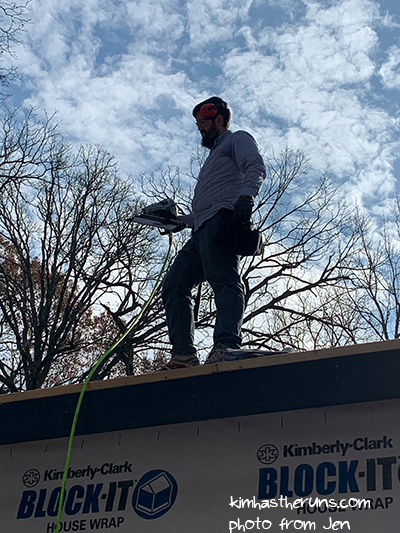
The boss man

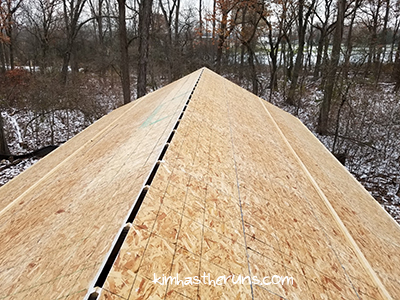
We used a thin washer to do the spacing between the sheets horizontally, and H-Clips between them vertically. Each row of sheets staggers – the seams meet up in the middle of the board below/above them. Each board at the end of the rows had to be cut to a custom shorter size (and have its edge sealed with primer – we installed them and will cut and paint them in place later).
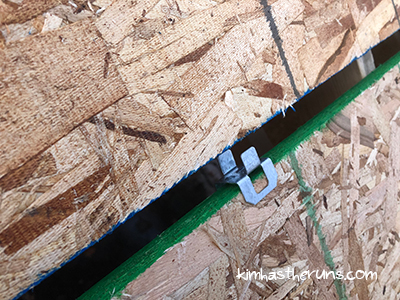
Here is what an H-Clip looks like before you slid the OSB in to it
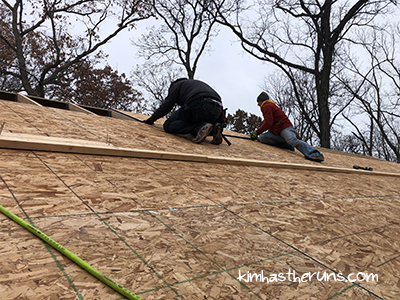
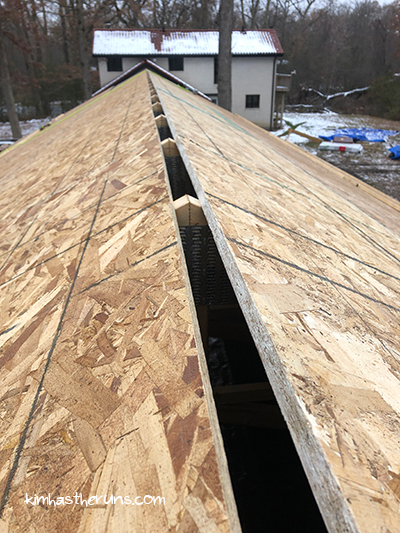
For safety, we added a row of 2x4s at the bottom of the roof, at the end of the first sheet (near the fascia), to give us something to keep us from slipping. And as we moved the 2x4s holding the trusses together, we added them on the sheets midway up the roof to give us something to keep us from slipping and rest things on.
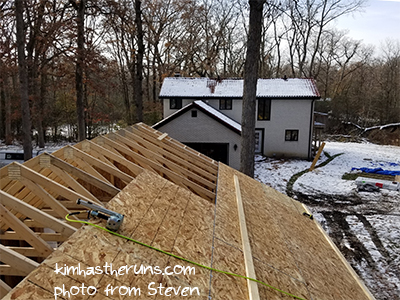
You can see the two rows of 2x4s here. Believe me – the roof is scary to be on without those to grip.
The boys worked on the north side in the morning while Jen and I moved a bunch of OSB around on the ground (we had to get extra sheets out of Dad’s truck so he could go home that day (cry! don’t go, Dad!)).
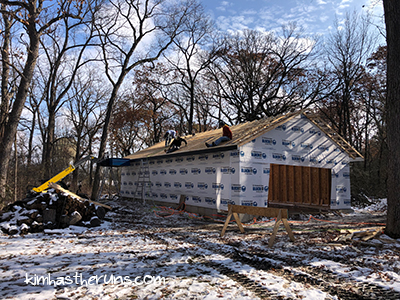
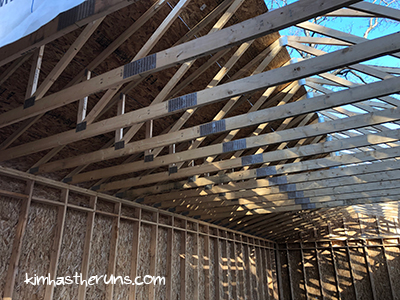
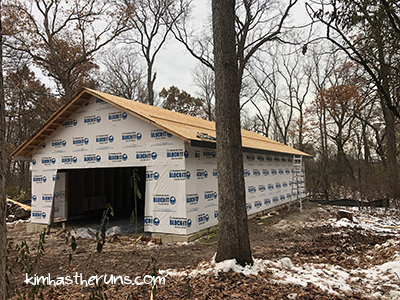
it’s so weird to see it covered after it being completely open for so long
After lunch, we set up the south side while Steven finished nailing what was up on the north side. Dad drove the telehandler over to the south side, and we got the ladders ready.
We got most of the first and second row nailed in, and even got a few sheets on to the third row before we had to call it a day because it was too dark.
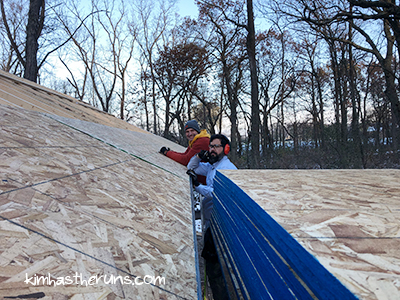
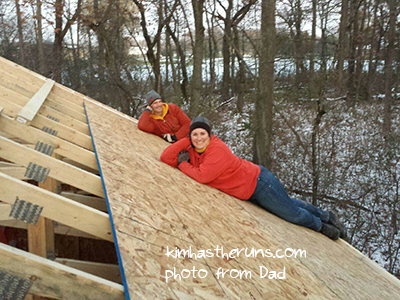
Posers
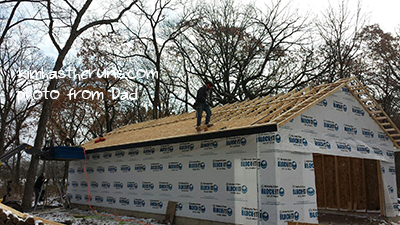
I went up on the roof in the afternoon. It’s easy getting up, but gah, it scares me getting down. And attempting to walk up there scares me too. Steven, Eric, and Troy walked around. That’s a hard no from me right now. Maybe later. Maybe not. (I am not afraid of heights… I am afraid of falling.)
Dad left Saturday night, and we helped him load all his gear (bye bye skid loader, sad face), some with the telehandler! He picked up a motor for my younger brother Sunday night, then he and Steven took it out of the truck Tuesday to pick up stuff at Menards (it sat in our house garage this week), and we used the telehandler to get it back in!
I text my younger brother to show him how we got the motor back in and he said we were cheating, ha
Troy came over to help us Sunday morning! He and Steven finished nailing in the full sheets on the south side while I ripped the OSB for the final row on the north side (I am becoming much more comfortable with power tools!). They installed those while I got lunch.
After lunch, they cut some special notched pieces for the four corners on each peak side of the roof. The top row sheets (see picture below) near the peak are all cut shorter for a vent, but the end pieces don’t have to be entirely cut short because the vent doesn’t go all the way to the end. If that made any sense.
Anyway, they cut those while I painted the exposed edges of the ripped pieces on both sides of the roof. That was kind of frightening. But I didn’t fall off, or drop any paint, so go me.
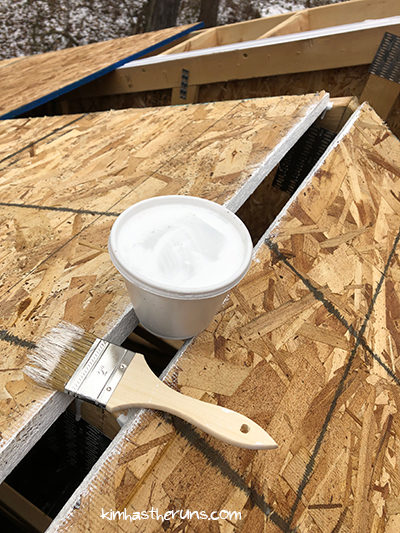
Ha, I used the salsa container from lunch to carry the paint around in. I did not want to bring an entire can up there.
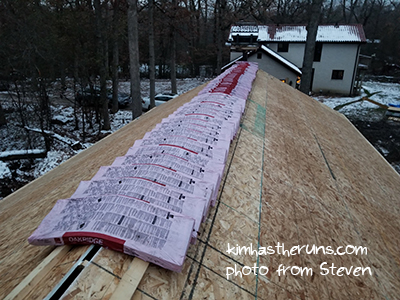
Steven and Troy installed the final sheets, then Steven loaded the shingles on the telehandler to put on the roof. We aren’t ready to install the shingles now, but we only had the telehandler until Monday morning, and we wanted to use it to get them up. Why not, right?
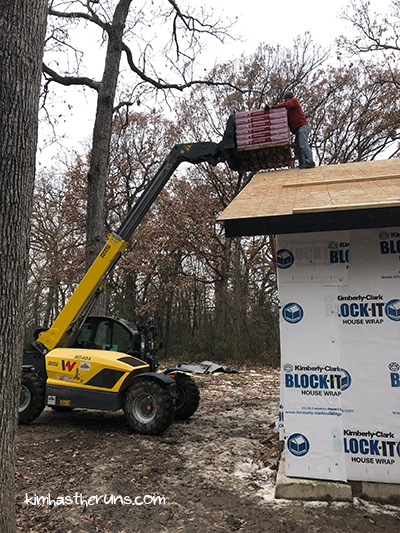
The shingles have sat through many rain and snow storms and were frozen together! They were able to get them apart and stacked, and do the second load of them as well. They both said there were shocked by how physically draining getting the shingles off the stack and moving them around was. Gah, I can only imagine how much worse it would have been to try to take them up there on a ladder!
After the shingles were up, we used the telehandler to move more items in to the garage, now that it’s COVERED!!!!!!!!!! We moved in the plywood we’ll use for the rest of the soffit in, and moved in the tounge-and-groove OSB we’ll use for the floor of the attic storage.
AHHHHHHHHHHH!!!! It’s almost like a real garage!
The garage feels even more stable with the roof sheathing up (phew, it STILL felt wobbly on Friday) but… it’s so dark inside now. Eww!
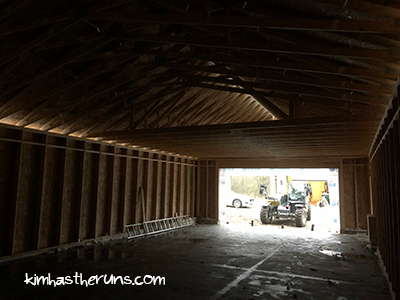
So dark!
But it’s exciting it’s covered and we moved stuff in. Now on to an important question… what should we call Garage #2? Garage #1 is the “House Garage.” Steven is appalled at calling the second garage “The Other Garage” or “Garage #2.” How insulting. Cast your vote below, or write a suggestion in! If we pick your write-in suggestion, I will send you a $10 giftcard to Starbucks or Amazon, your choice.
[poll id=”13″]
Previous Post: Garage Project: Soffit Ladders and Fascia

I would call it “the big garage” lol. You guys have done an AWESOME job!
Yes! That’s a perfect name! It definitely is the bigger garage by 2x. (It’s crazy, it’s basically as long as our house).
Thanks! I really admire Steven’s planning and dedication to doing things right.
How about the “He shed”?
Ha! I was gonna write “She Shed” as a joke! It’s totally a he shed 😉
So impressed you have done so much yourselves!
Thanks!
I think the new garage should be called the Datsun House.
It is looking so good!!! Almost done for the season!
Ha! I think that might be the winner. Steven would love that!
Thanks to your guy’s help it’s looking so good! We’re looking forward to being done for the year 🙂
I feel like all the work you’re putting into the garage makes it worth of a good, original name, but I’m coming up blank 🙁 I don’t know of any good garage puns or names that would work for a garage from movies/TV! Clearly an underserved category 😛
I am so bad at puns and names! But we got some good suggestions 🙂
Last time i tried this i accidentally erased what i wrote, try again, i think you should call it Tatooine or The Outer Marker, for short you could say Tatoo or you could say the O M, what do you think?
Those are good ideas! We were going for a sci fi theme, but thinking Game of Thrones – Steven was talking about calling it Dragonstone.
Datsun Garage? Steve’s Shop?
We def need to incorporate the Datsun name SOMEHOW!
The Garage Mahal!
I love this suggestion! Steven and I both LOLed for real at it.
Wow, it *really* is coming together now! I didn’t realize how big it is. Will you be able to fit in more than one car side-by-side? (Maybe you’ve said this, but what is _this_ garage for? HOLDING SNACKS?!?)
Also, I can’t believe you didn’t want to haul shingles and sheathing up a ladder. That seems so safe and fun!
Yeah, it could technically fit four cars, with two sets of two side by side. We are going to put the Datsun in it, all our building supplies, and all our yard equipment, and then the back will be a workshop. AFTER I FILL IT WITH SNACKS, anyway 😉
Right? I know. Sometimes we are party poopers 😉
New suggestion from dad, the money pit, thats what we call are cabin
That one is probably the most appropriate 😉
Wow! It looks like a fully-formed garage!!! I had no idea there was so much work that went into building a garage…or maybe our garage is more of a shack while yours is the Garage Mahal – I was going to suggest the Power House until I saw Kaitlyn’s suggestion, which I love.
I had no idea either, Shelley. Hee hee hee 😉 I think all the same steps go in to most garages, it’s just that we don’t pay attention to how much work they are!
I love Garage Mahal. I’ve been trying that one out. Power House is fun too!