
We had lots of hands on deck this weekend and got a lot done! Yay! But first, here is what we (mostly Steven) worked on during the week:
- Tuesday – front wall framing
- Wednesday – front wall framing
- Thursday – moved trusses, went to Menards and Home Depot
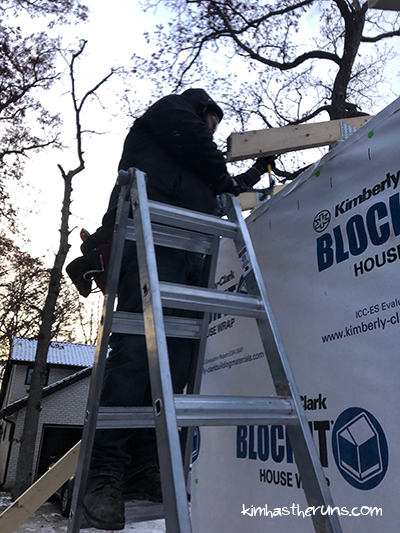
- Friday (the day I could help) – moved trusses, installed (some of the) sub fascia, painted fascia
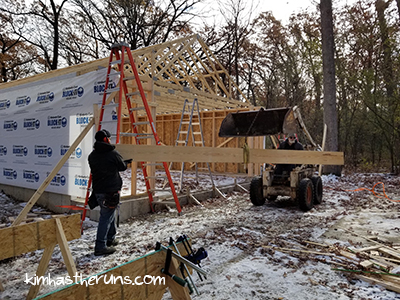
Steven using the pry bar to start moving the truss
The white boards are the sub fascia
Wait, move the trusses? Didn’t you guys already install the trusses? Yes, and we did our best to install them 24″ on center. But here’s what happened – we messed up a couple measurements in the back (east end) of the garage, and the rest of the trusses were 24″ on center after that. But we want them ALL to be 24″ on center, from back to front, and front to back, so it’s not a headache when we install the OSB on the roof (in theory, the OBS is 4′ wide and will sit over three trusses).
So on Thursday and Friday, Steven cut a lot of the trusses off and moved them over. You know what made doing this even harder? Some of them were frozen with ice to the top plate. What the heck?! We learned our lesson – the next time we build a garage (HA HA HA), we’ll mark the top plates 24″ on center so we know where to put them.
Moving on!
My dad is here! He arrived Friday night and brought a lot of stuff to help us out – his skid loader, some extra ladders, and other tools.
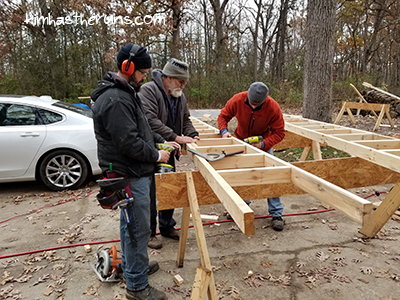
Our goal for Saturday was to build the front wall, and get it sheathed. Steven and I took off the front walls he’d framed during the week – we still needed to nail the bottom of them together – and Dad cut the 2x12s for the header.
Eric arrived while Steven and Dad were gluing and nailing the 2x12s together for the header. Eric and I cut and painted the OSB sheets for the sides of the front wall, then Dad used the skid loader to raise the header in to place. It required two of us on ladders directing the header in to place, and one person on the ground pushing the stud walls to help the header go in to place. I was glad there were four of us!
After we got it up and nailed it in, we all worked on preparing the wood to go above the header, then Steven nailed those pieces in.
After lunch, we put the two side sheets of OSB up. Steven nailed them in while Eric and I cut a piece of wrap to match the shape of the front truss, and Dad built an apparatus to lift the truss using his skid loader. Then we all worked on cutting the OSB sheets for the truss, and I painted them.
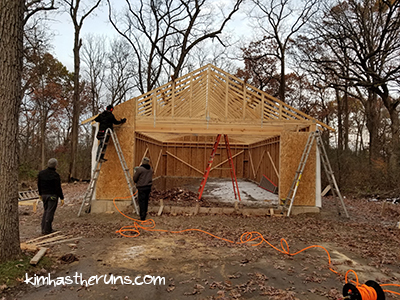
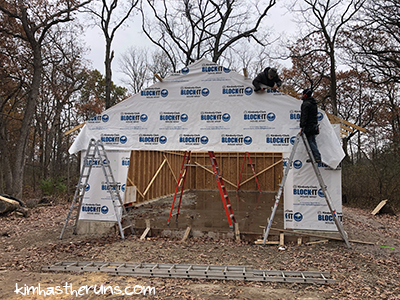
Then, the moment of truth – using the skid loader to raise the truss.
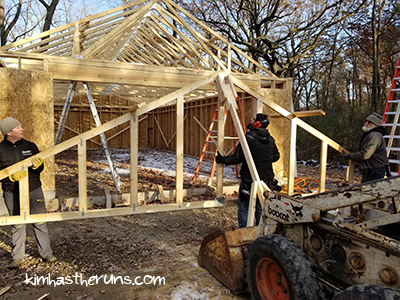
Steven, Dad, and Eric got the truss on to Dad’s truss-raising apparatus, which was attached to the bucket of his skid loader.
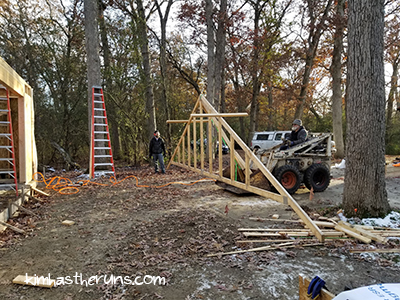
Then Dad drove it up to the front of the garage!
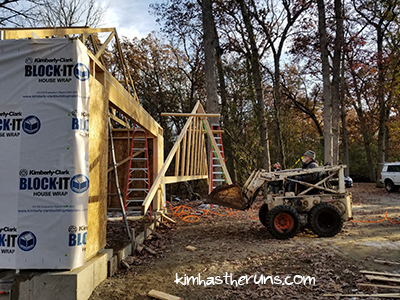
While he did that, three of us were on ladders to guide it in to place. And it worked, yay! We got it in place, then Steven nailed it in, attached it with steel strap ties, then we started getting the sheathing up.
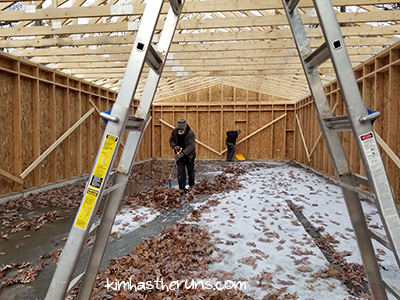
We got four of the sheets up, then ran out of daylight. Dad and Eric shoveled out the garage while Steven was nailing the OSB in. Then I got to use the skid loader to dump the leaves in the woods!!!!!!!!!!!!!!!!!!!!!!!!!!!!!!!!!!!!!!!!!!!!!!!!!
At the end of Saturday, the garage felt much more stable. Until we had the front wall up, you could push on the long side walls and it would wobble. We kept saying “it will be sturdier when the front wall’s up!” I’m glad we were right.
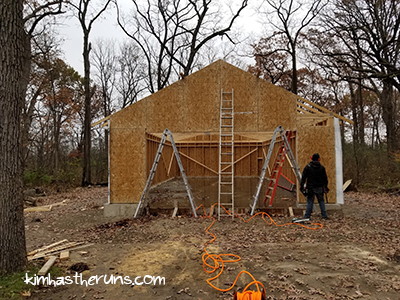
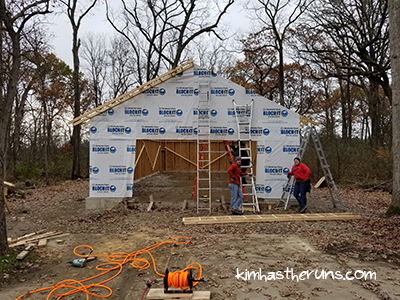
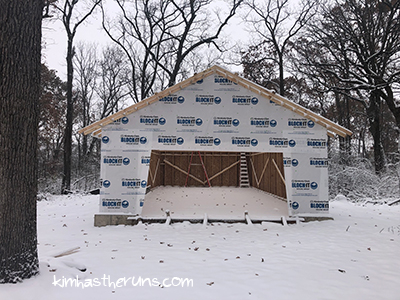
Our goal for Sunday was to finish installing the OSB on the truss, wrap it, then install those “ladders.” In the morning, Dad, Steven, and I got the OSB and wrap up.
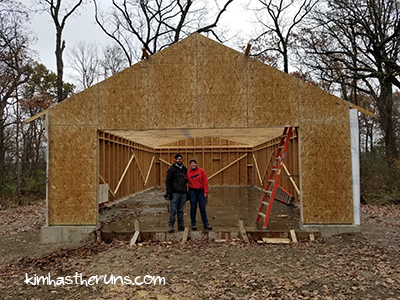
I should have had this be our holiday card photo!
After that we spent some time investigating the truss situation. After installing the front truss, we realized they aren’t all plumb. We contemplated several ways to adjust them all: one by one, or all at once, or in groups; but ultimately (after messing with one), decided to adjust them as we’re installing the roof sheathing. That’ll be fun! (not)
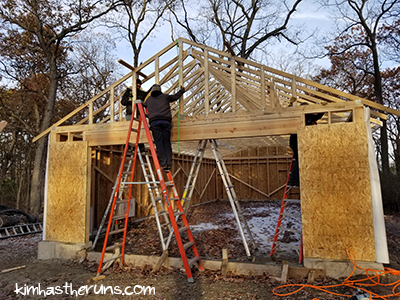
Jen and Troy came over at lunch time. We had lunch, then worked on installing the gable soffit ladders, while Jen painted the remaining fascia pieces inside. Installing the ladders took three of us on ladders outside of the garage, and one person on a ladder inside. Again, I was grateful to have so many people to help. It would have been dangerous and difficult without all of us there.
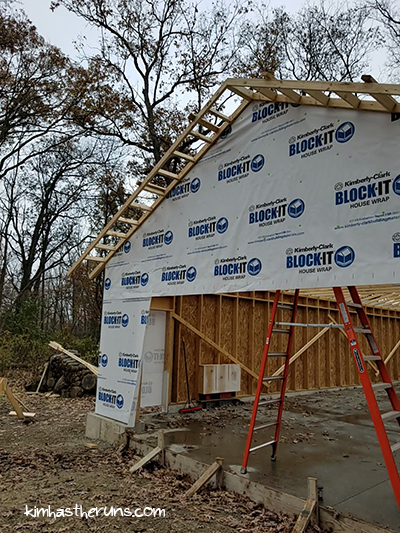
We installed the ladders on the front of the garage first.
One up!
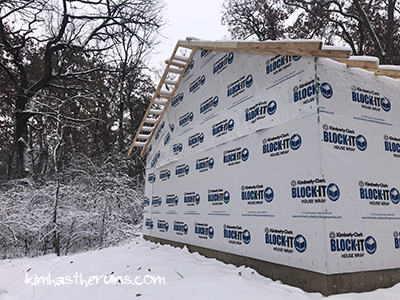
After installing them, we realized they needed to be bulked up a bit, so we did that for the back of the garage ladders.
Installing them on the back was trickier because the ground is at an intense slope and extremely muddy. I was glad Jen was done painting and could hold my a-frame ladder in place so I didn’t fall.
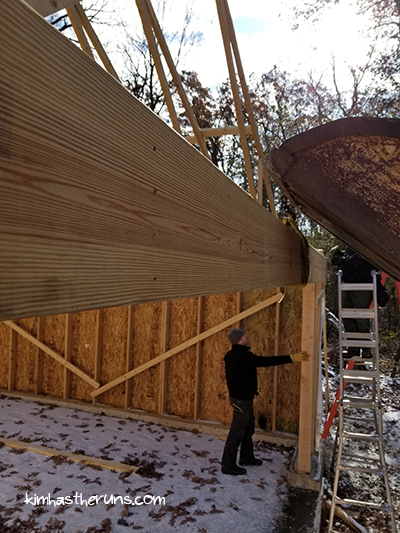
Now that they’re installed, can you tell what they are? They make it so the roof can overhang over the front and back of the garage.

We want to get a lot more done this week, since my Dad is here, but here is what we are dealing with today:
More snow and unusually cold temperatures for this time of the year. UGH. I normally would not complain about the weather but I really want to get this thing enclosed! We thought we’d have time before permanent snow and cold but this fall has been wacky.
Previous Post: Garage Project: Lots of Prep Work

I missed/forgot this from a previous post: what does OSB stand for?
Wow, this is exciting, it’s really coming together! So far, which part has been your favorite, and which have you disliked? (THE TAPE SITUATION?)
What a bummer about the unreasonably cold weather. It’s like weather on moving days, why it always horrible?
I didn’t explain it – thanks for asking. OSB is “oriented strand board.” It’s an engineered board made of glue and compressed layers of wood strands.
My favorite part is working with our friends and family. Least favorite is working on it every weekend all day 🙂 (tape is a good guess!!!!!)
Ha, that’s the truth! When we moved to this house, the weather was like this!
So much work got done! WOW. It’s amazing to see it all come together. It’s not an easy thing, building a garage. Who knew?! 😉
BOOOO to the snow. It just couldn’t hold off for a few weeks, could it?
Right? Who had any idea?! Hee hee. I hope we can get a lot more done before Dad leaves. I feel bad they were out working today in the cold (it was below 10).
Sigh, no. Like, seriously WTF. ALL CAPS WTF.
Man, this weather is frustrating just in general, but it’s even more frustrating when you have outdoor work to do! Of all the years for winter to arrive like two months ahead of schedule *eye roll emoji* It looks like you’re making great progress, though, despite the cold/snow/awfulness.
Right? Figures that we’d think we had until December before snow would stick around. Never rely on the weather! Ha!
Thanks, I feel like we are! And the boys are out there working now, while I work inside. BRRRRRRR!